Disneyland® Resort Ticket Types Explained, So You Don’t Overthink Every Option
You thought you’d just “buy a ticket” to Disneyland. Quick, easy, done. Maybe five minutes, tops.
And then suddenly you’re staring at a list of Disneyland® Resort ticket types that includes things like Park Hopper® Ticket, Lightning Lane®, and Magic Keys… and somehow every single one sounds important.
Necessary, even.
Urgent, if Mickey had a say.
Now you’re comparing all the different types of Disneyland tickets like you’re about to make a high-stakes decision that could absolutely impact your entire day. No pressure.
Been there. Fully spiraled.
But here’s the reassuring part: this confusion is completely normal. Disney did not make this simple.
The even better part? Once you break it down, it’s actually way easier than it looks.
Don’t worry! By the end of this, you’ll know exactly what to book, what you can skip, and how to do it all without a stress spiral.
I’ve got you.
Step 1: Start Here — There Are Two Parks
Before we even talk about Disneyland ticket types, we need to clear up the thing that confuses almost everyone at the start.
There are two separate parks. Not two sections. Not two lands. Two entirely different parks sitting right across from each other.
This is the part I wish someone had explained before I confidently assumed Disneyland® Resort was just…one place.
Here’s the breakdown you actually need.
Disneyland® Park (The One You’re Picturing)
This is the original. The one with the castle. The one you’ve seen in every commercial, movie montage, and childhood memory.
Walking in feels like stepping into a very clean, very magical version of Main Street USA. You’ll smell popcorn, hear music playing, and immediately understand why people get emotional here.
This park is packed with the classics:
- Pirates of the Caribbean® Attraction
- Space Mountain® Attraction
- Haunted Mansion® Attraction
- it’s a small world® attraction
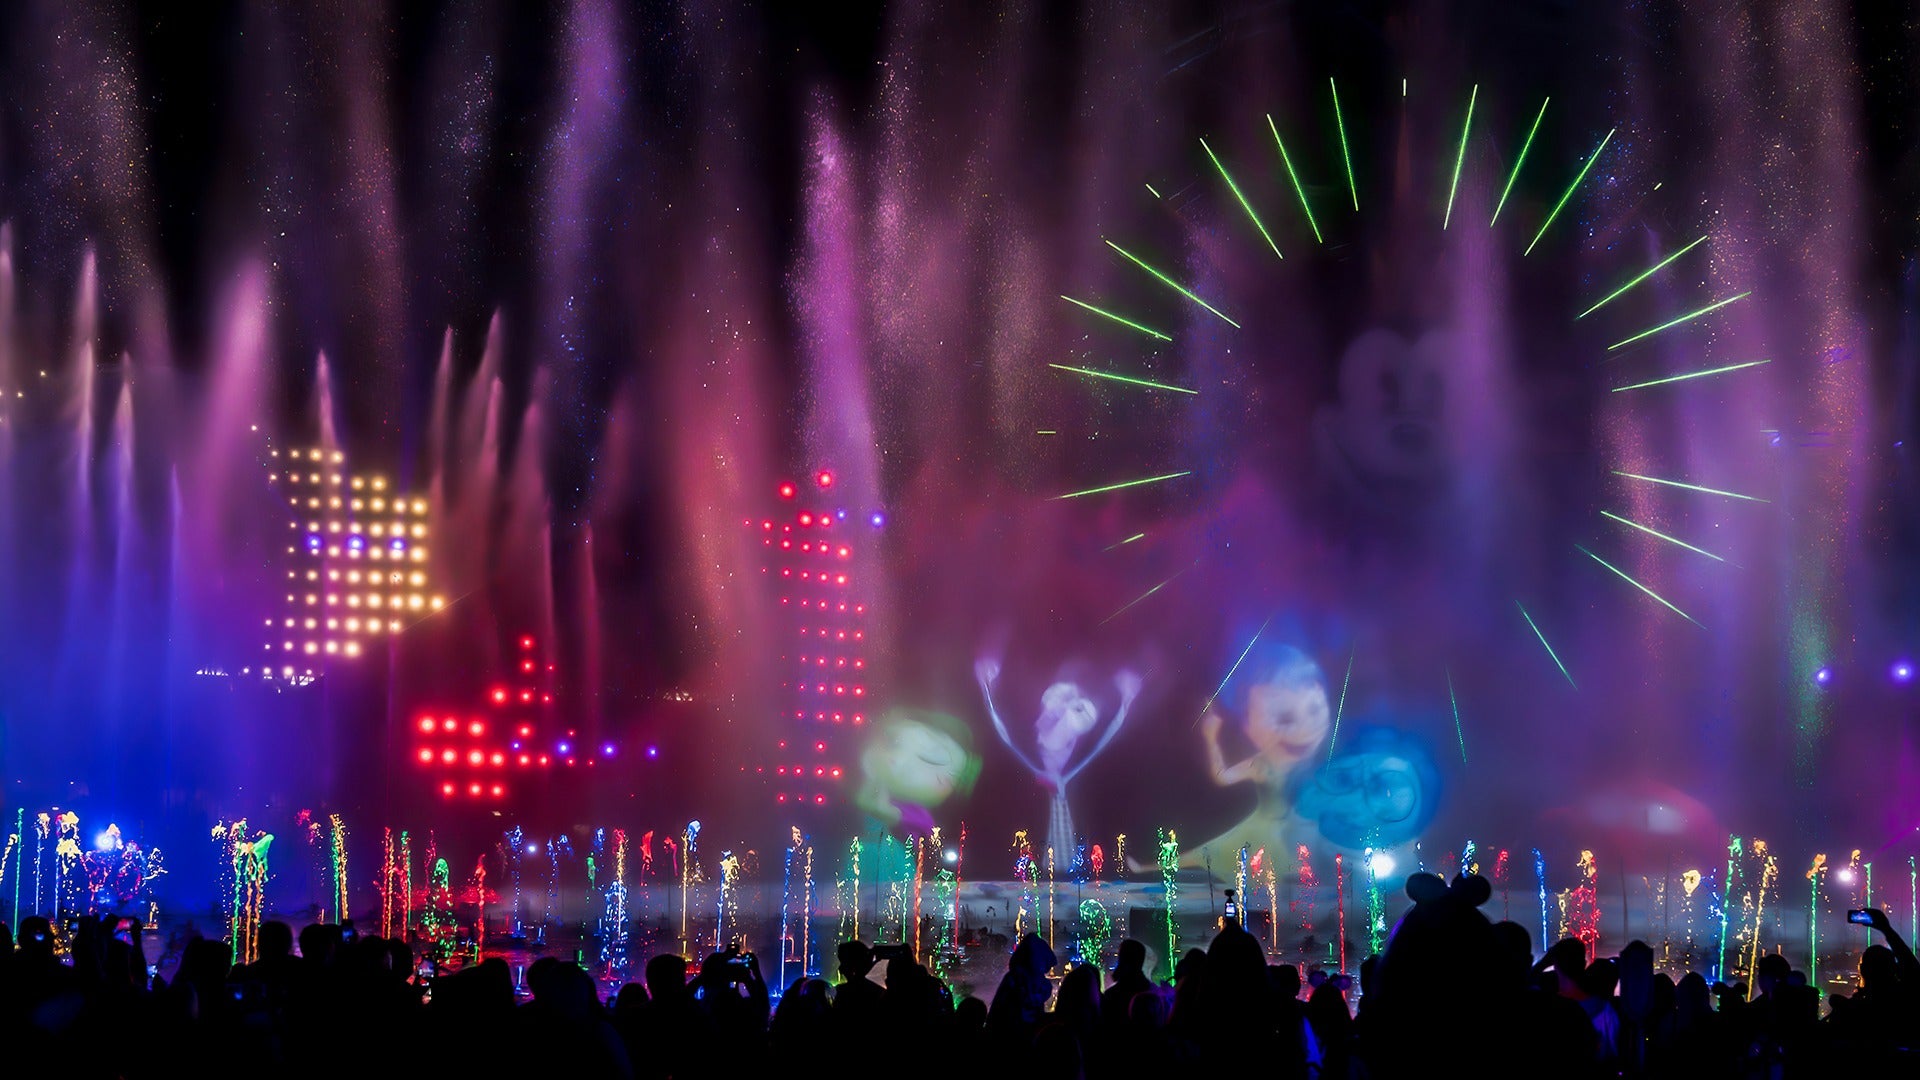
It’s also where you’ll find the iconic castle, parades, and fireworks.
If I were going again for the first time, I would absolutely prioritize this park. It’s the full Disneyland experience. Nostalgia is doing a lot of heavy lifting here, and honestly, it works.
This park tends to feel busier and a little more hectic, especially in the morning when people rush in for what’s called rope drop.
That just means getting there right at opening so you can hit popular rides before the lines get long.
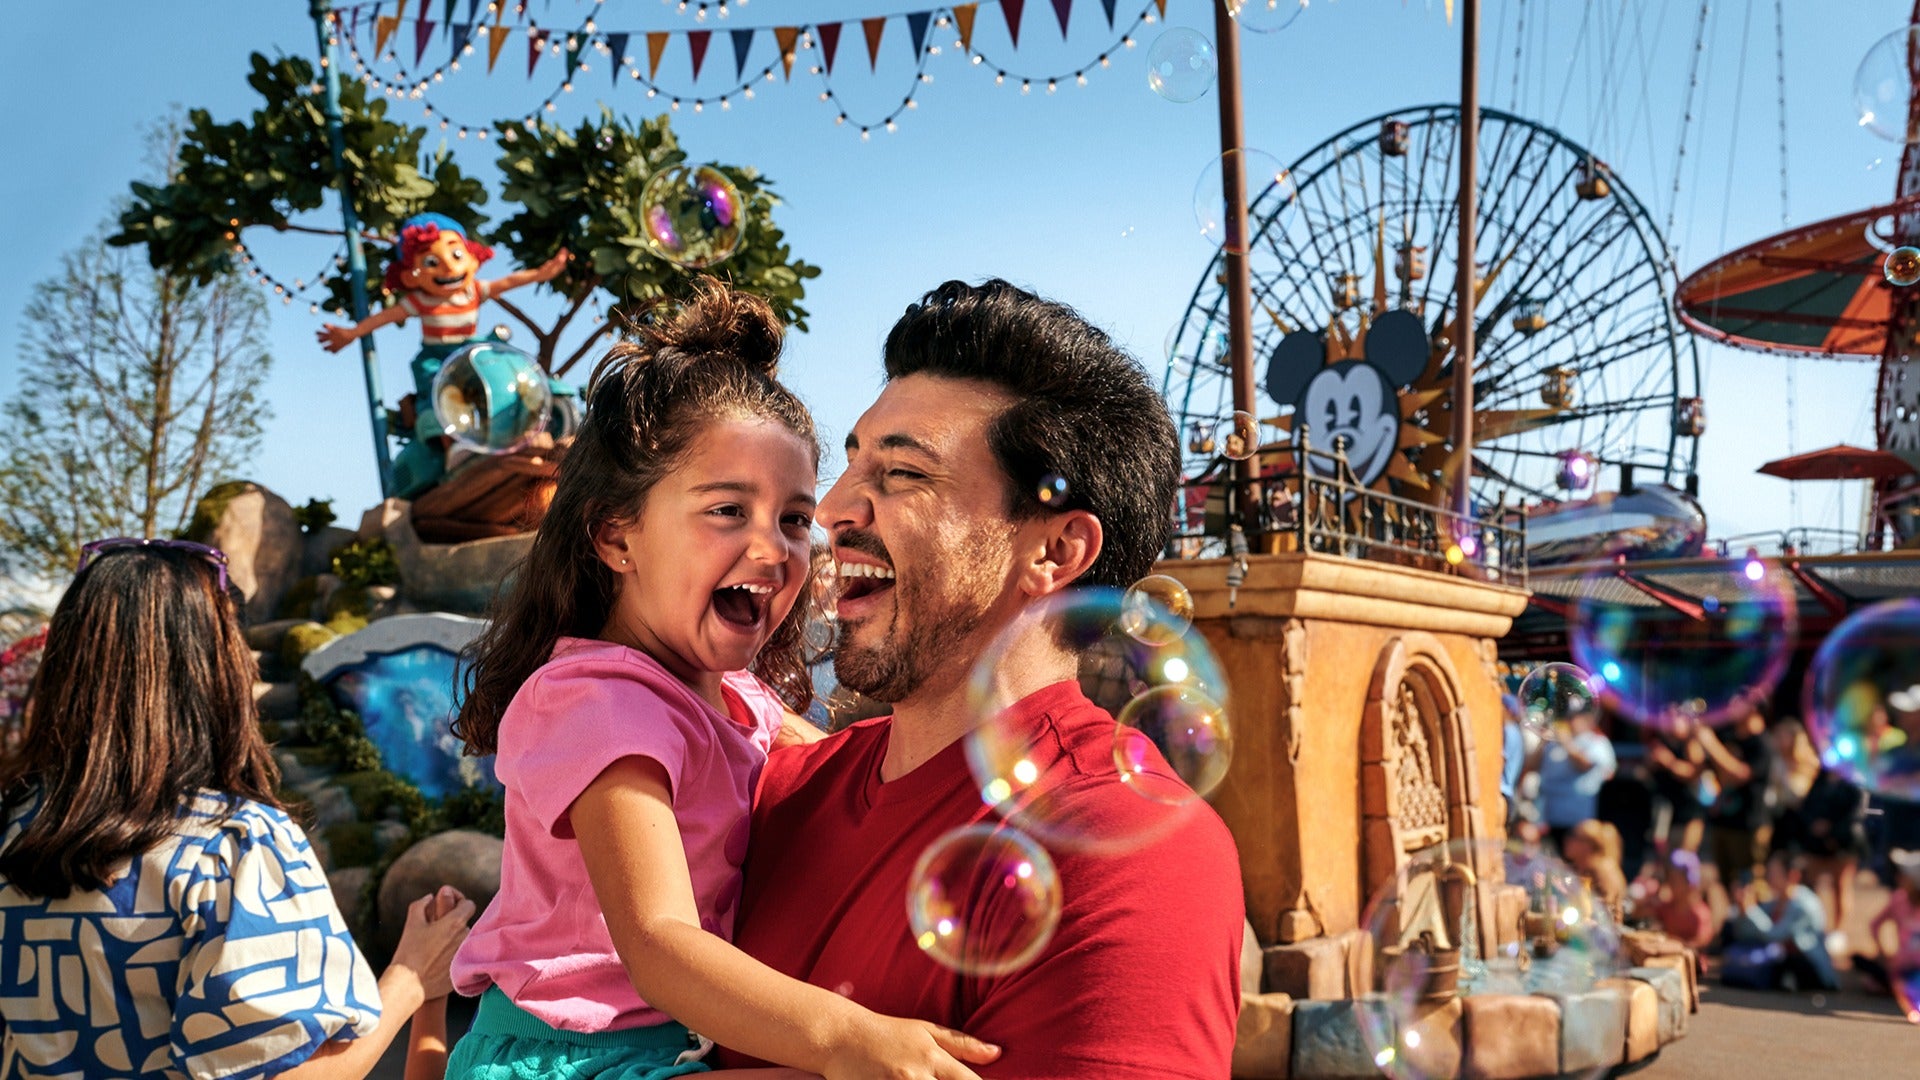
Disney California Adventure® Park (The Cool Younger Sibling)
Right across the way is Disney California Adventure® Park, which feels like Disneyland® Resort’s more relaxed, slightly trendier sibling.
The vibe is different right away. Less fairy tale, more Pixar and Marvel energy. The music, the food, even the crowds feel a little more laid-back.
This is where you’ll find:
- Avengers Campus with Spider-Man flying overhead
- Cars Land, which looks like you walked straight into the movie at sunset
- Guardians of the Galaxy, which is chaotic in the best way
And yes, the food here is genuinely better. Not just “Disneyland theme parks good.” Actually good.
If Disneyland® Park is about nostalgia, Disney California Adventure® Park is about fun experiences you didn’t know you needed.
This park is usually easier to navigate and slightly less overwhelming, which can feel like a relief halfway through your trip.
The Only Decision You Need Right Now
At this stage, don’t overthink it.
You’re just deciding:
- Do you want to spend your day in one park
- Or do you want access to both parks in the same day
That’s it. We’ll get into how each theme park ticket works next.
But for now, just remember: Two parks. Two completely different vibes. And yes, you’re probably going to want to see both.
Step 2: Choose Your Base Ticket (This Is the Big One)
This is the decision that actually matters. Everything else is just extra. This is where you decide how you want your day to feel.
I’d think of this as choosing between a “relaxed, enjoy the moment” day or a “we are covering ground and making memories at a slightly aggressive pace” day.
You’ve got two ticket options.
Option A: 1 Park Per Day (The Keep-It-Simple Choice)
This is exactly what it sounds like. You pick one park and stay there for the entire day. No switching, no back and forth, no overthinking.
Honestly, for a first trip, this is the easiest way to go.
You can take your time, wander a little, sit down when you need to, and not feel like you’re racing across a theme park campus trying to “maximize” every second.
If it were me going with kids or just trying to enjoy the day without turning it into a cardio workout, this is what I’d choose.
Best for:
- First-timers who don’t want to overcomplicate things
- Families who want a slower, more relaxed pace
- Anyone who likes the idea of actually enjoying lunch instead of speed-eating it between rides
Good to know: You can still have a very full day in just one park. Between rides, shows, food, and just taking it all in, you will not be bored. If anything, you’ll be grateful you didn’t try to do too much.
Option B: Park Hopper® Ticket (The “Let’s Do It All” Upgrade)
This is where things get a little more ambitious.
Park Hopper® tickets let you visit both parks on the same day. You start in the park you reserved, then around late morning, usually 11 AM, you can move freely between the two.
So yes, this is how people end up riding Guardians of the Galaxy, grabbing lunch in Cars Land, and then heading back to Disneyland® Park for fireworks all in one day.
Personally, this is the option I pick when I know I’m going to have major FOMO. Because once you’re standing there, it is very hard to ignore the fact that an entirely different park is literally steps away.
Best for:
- People who want to experience both parks in one trip
- Anyone who likes flexibility and options
- The “we’re already here, we might as well do everything” mindset
Good to know: Switching parks is easy. They are right across from each other. But it does take time and energy. You will walk more. You will check the app more. You will feel very accomplished by the end of the day.
Step 3: Decide How Many Days You Need
This is where expectations need a quick reality check.
If I were you, I’d go into this knowing one thing: Disneyland® Resort is not a “we’ll just knock it out in a day” situation. You can do that. People do it all the time.
But how it feels depends entirely on how many days you give yourself.
Here’s what each option actually looks like in real life.
1 Day (Fast, Intense, Slightly Chaotic)
One day at Disneyland® Resort is a bit like speed dating, but with rides.
You’ll be moving quickly, making decisions on the fly, and constantly checking wait times. It can be fun, but it is definitely a go-go-go kind of day.
You will not see everything. Not even close. And the sooner you accept that, the better your day will be.
If I had single day tickets, I’d pick one park, choose my top rides ahead of time, and let the rest go.
Trying to do it all is how you end up tired, overwhelmed, and eating snacks while standing in line, wondering what just happened.
2–3 Days (The Sweet Spot)
This is where things start to feel really good.
Two to three days gives you enough time to experience both parks without feeling like you’re in a race.
You can hit the big rides, explore a little, sit down for meals, and maybe even ride something twice without guilt.
If it were me, this is exactly what I’d book for a first trip. It strikes that perfect balance between “we saw a lot” and “we actually enjoyed ourselves.”
You also get flexibility. If a ride is too crowded one day, you can come back to it later instead of forcing it.
4–5 Days (The “We’re Fully Settling In” Experience)
This is Disneyland® Resort at a much slower, more relaxed pace.
By this point, you’re not just checking things off a list. You’re re-riding favorites, taking midday breaks, lingering over meals, and noticing little details you would have rushed past before.
This is the kind of trip where you stop feeling like a visitor and start feeling like you know your way around.
Multi day tickets are also great if you want to build in rest time, especially with kids. Afternoon breaks become very appealing after a couple of long park days.
The Key Takeaway
More days mean less stress. Full stop.
It also usually means a lower cost per day, which makes it one of the rare times in life where staying longer actually feels like the smarter financial decision.
If you’re on the fence, give yourself the extra day. Future you, sitting down with a snack instead of rushing to the next ride, will be very grateful.
Step 3.5: Let’s Talk Ticket Pricing (Because Yes, It Matters)
Let’s talk about the part everyone is quietly thinking about while pretending they’re just “figuring things out.”
Ticket pricing.
Because understanding Disneyland ticket types is one thing. Seeing the actual numbers attached to each pass type is where things get very real, very fast.
What a 1-Day Ticket Really Costs
At the Disneyland® Resort, your starting point is usually a park per day ticket.
Here’s what that looks like right now with discounted tickets from Tripster:
- Around $152 per person for a 1-day, 1 park per day ticket
- Around $224 per person for a Park Hopper® Ticket
If you add Lightning Lane® Multi Pass, pricing typically jumps to:
Around $187 to $259 per person, depending on your ticket combination
So yes, the base price is just the beginning. The moment you start upgrading your pass type, the total shifts quickly.
Multi-Day Tickets (Where the Value Kicks In)
If you’re planning to visit Disneyland for more than one day, this is where things start to make more sense financially.
With discounted tickets from Tripster, you’re looking at:
- 2-Day tickets starting around $316 per person
- 3-Day tickets around $388 per person
- 5-Day tickets around $474 per person
The longer you stay, the lower your cost per day.
If it were me, I would seriously consider adding that extra day. Not just for the savings, but because it completely changes how your trip feels. Less rushing, more enjoying.
Upgrades That Change the Price and the Experience
Most people don’t stop at the base ticket.
Once you start adding upgrades like:
- Park Hopper® Ticket
- Lightning Lane® Multi Pass
Your total cost increases, but so does your flexibility and overall experience across both parks and Disney offerings.
For example:
A 3-Day Park Hopper® Ticket with Lightning Lane® Multi Pass can cost around $590 per person
That’s a jump, but it also means less waiting, more rides, and a smoother day overall.
What People Don’t Realize About Pricing
There are a few important details that don’t always get talked about upfront:
- Park reservations are required in addition to your ticket
- Availability can change, and access is subject to restrictions and Disney California Adventure® Park capacity limits
- Pricing, availability, and options are subject to cancellation without notice
- Some tickets come with blockout dates, especially for lower-tier options like Magic Keys
Also, buying a ticket does not automatically guarantee entry. You must secure your Disneyland reservations separately.
I know. I was shocked, too.
This is the step that trips people up. Not because it’s hard, but because it feels…unnecessary. And yet, here we are.
After you buy your ticket, you still need to reserve your park day. Think of it as telling Disney, “Hi, I’m coming on this specific day, please let me in.”
If it were me, this is the part I would double-check immediately after purchasing.
Because no reservation means no entry. Truly. You can have a valid ticket, show up excited, coffee in hand, ready for your Disney day… and still get turned away.
Here’s how it works in simple terms:
- You pick your date
- You choose which park you’re starting in
- You lock it in
That’s it. Takes a few minutes, saves you a massive headache.

Step 4: Do You Want to Skip Lines?
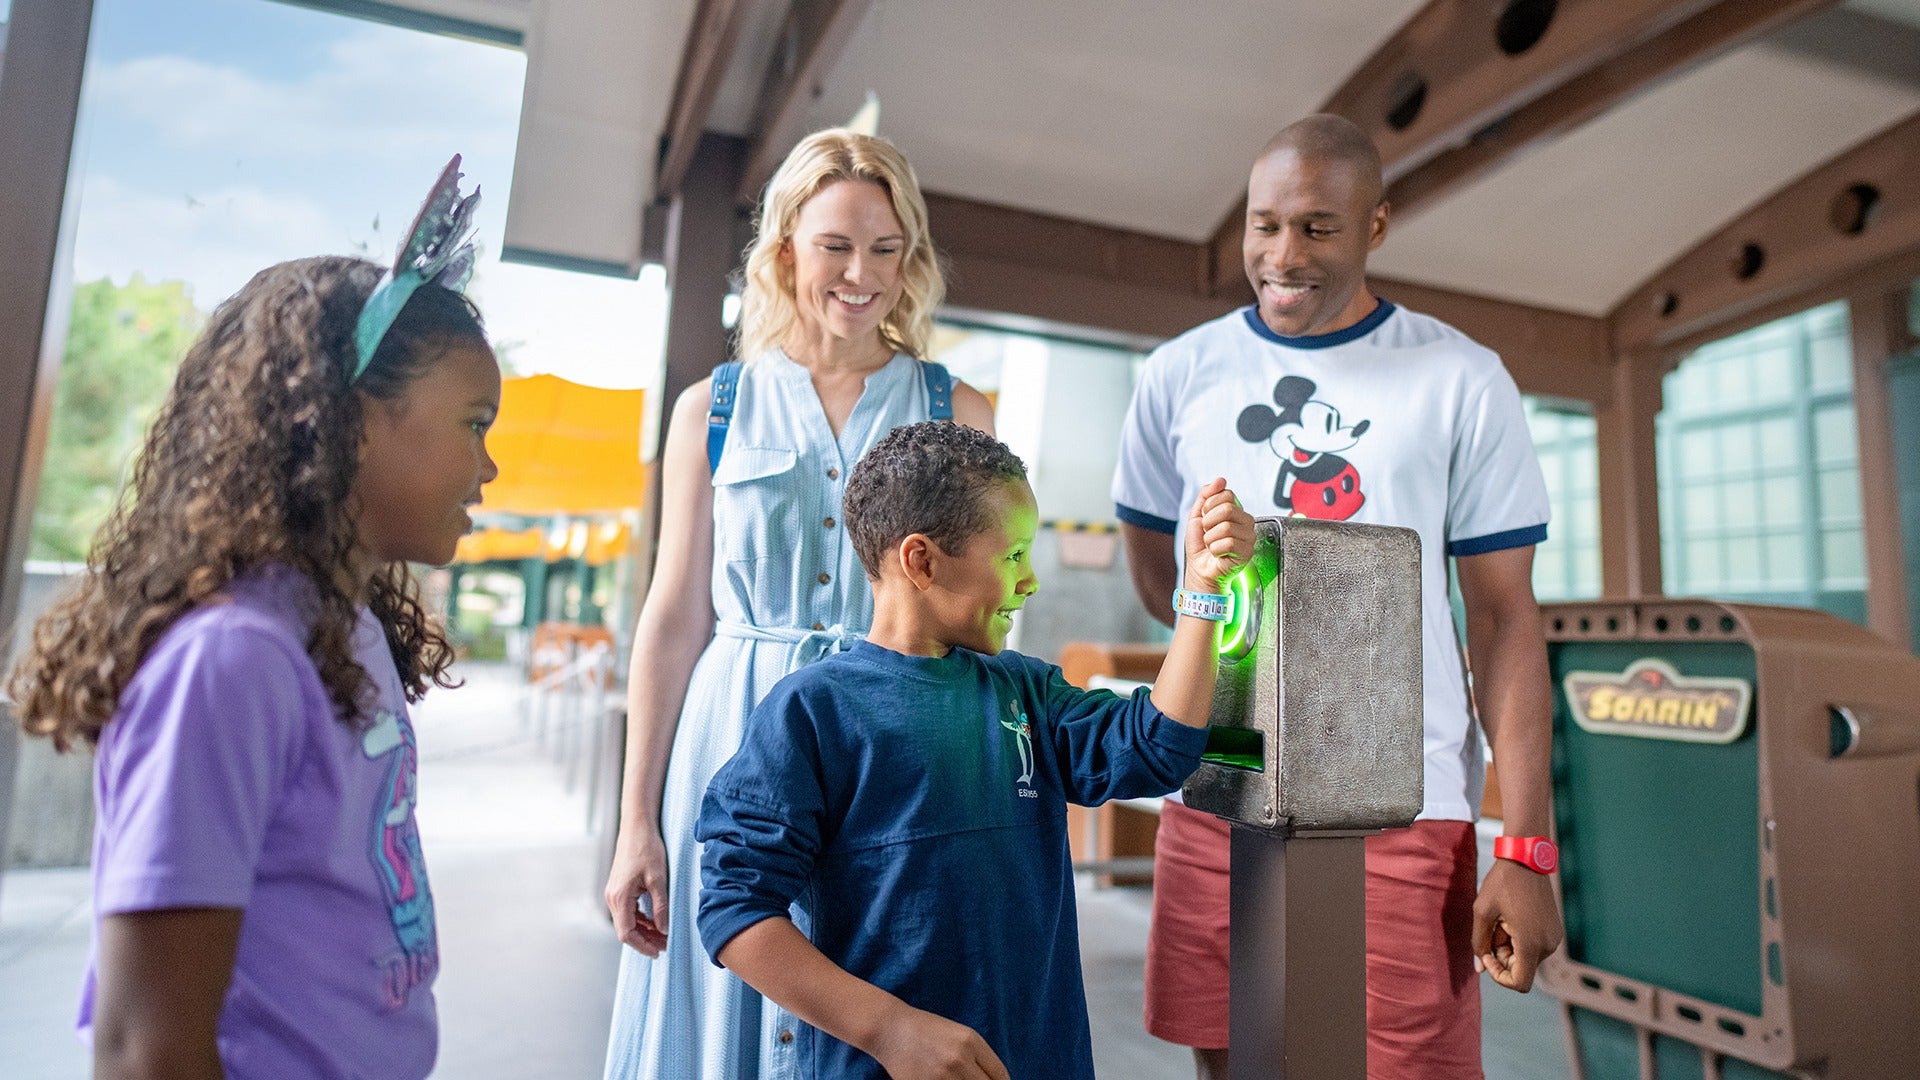
Enter: Lightning Lane®. It’s Disney’s system for skipping the regular line and using a much shorter one.
This is the one upgrade I’d seriously think about ahead of time. Because once you’re in the park, those wait times feel very real.
There are three types of Lightning Lane® passes, and they each work a little differently.
Lightning Lane® Multi Pass Options (The One Most People Use)
This is your main, all-day line-skipping tool.
With Multi Pass, you can reserve access to shorter lines for multiple rides throughout the day using the Disneyland app.
You pick a ride, get the next available time window, and then show up during that window to skip most of the wait.
After you use it, or after a set amount of time passes, you can book another one. You repeat this throughout the day.
If it were me, I’d treat this like stacking reservations. You’re always planning your next ride while enjoying your current one.
Good to know:
- Works across both parks if you have a Park Hopper® Ticket
- Includes several popular rides, but not all of them
- Also comes with some photo perks, which is a nice bonus
Lightning Lane® Single Pass (For the Most Popular Rides)
This is where Disney separates the true crowd favorites.
With a Single Pass, you pay for one specific ride and get the next available return time to skip the line.
Right now, this typically includes:
- Rise of the Resistance
- Radiator Springs Racers® Attraction
These are the rides with the longest wait times in the park. We’re talking easily over an hour on busy days.
Personally, this is where I ask myself a very honest question. Do I want to wait in line that long, or do I want to pay and move on with my day?
You can buy up to one per ride, per day.
Lightning Lane® Premier Pass (The “Skip Everything” Option)
This is the top-tier option, and it’s a very different experience.
With the Premier Pass, you get one-time access to Lightning Lane® for almost every eligible ride in both parks. And here’s the key difference. You don’t have to schedule times. You just show up when you want.
It’s flexible, convenient, and very expensive.
Personally, I’d only consider this if:
- It’s a once-in-a-lifetime trip
- You want the least amount of planning possible
- Budget is not a major concern
For most first-time visitors, this is not necessary. But it does exist, and now you know exactly what it does.
Step 5: Optional — Special Event Tickets
Now we’re entering the “extra magic if you want it” category.
Disneyland® Resort runs special after-hours events throughout the year, and these are completely separate from your regular ticket. You cannot just stay late. You need a separate event ticket to get in.
We’re talking about things like:
- Halloween parties like Oogie Boogie Bash
- Themed nights like Star Wars Nite or Sweethearts’ Nite
These events usually happen in the evening and come with a very different vibe. Think shorter lines, exclusive snacks, rare characters, and people fully committing to themed outfits.
I’d think of this as less “another park day” and more “a very fun, slightly chaotic themed party.”
Good to know:
- You can often enter the park a few hours before the event officially starts
- Crowds are capped, so it feels noticeably less packed
- Regular daytime tickets do not include this
If it’s your first trip and you’re already juggling a lot, this is optional. Fun, but not necessary.
Step 6: What About Annual Passes (Magic Keys)?
You’re going to see something called Magic Keys, which is Disney’s version of an annual pass.
This is for people who plan to visit multiple times a year. Not once. Not twice. We’re talking frequent visits.
Magic Keys come with:
- Access to the parks on select days
- Blackout dates, which means certain busy days are off-limits depending on your tier
- Discounts on food, merchandise, and sometimes parking
If it were me planning a single trip, I would scroll right past this without a second thought.
Should You Even Consider This?
Short answer: probably not.
First-timers can safely ignore Magic Keys. They add a layer of complexity you simply do not need right now.
Focus on your ticket, your days, and your plan. You can always revisit the idea of an annual pass later if you fall in love with the parks and start planning your next trip before you’ve even left.
Quick Cheat Sheet (Because We Love You)
If all of this started to blur together a little, this is your reset button.
If it were me, I’d screenshot this and move on with my life.
If you want simple:
→ 1 park per day + 2 to 3 days
No rushing, no overthinking, just a solid, enjoyable trip
If you want the full experience:
→ Park Hopper® Ticket + Lightning Lane®
More rides, more flexibility, slightly more “we are on a mission” energy
If you hate planning:
→ Keep it basic and add upgrades later
You can always adjust, but you don’t need to figure everything out upfront
At the end of the day, there’s no perfect combination. Just the one that lets you enjoy yourself without checking your phone every five minutes.
You Don’t Need to Do It All
Let’s just say this out loud. You are not going to do everything at Disneyland® Resort. Not in one day. Not in three. Not even if you show up with a color-coded plan and unlimited caffeine.
And that’s not a failure. That’s literally how the park is designed.
Even the people who go all the time, the ones who know every shortcut, every snack cart, and exactly where to stand for the parade, don’t do everything in a single trip.
They pick their favorites, try something new, and call it a great day.
I’d focus less on optimizing every second and more on actually enjoying what’s in front of me. The ride you didn’t plan for.
The snack that ends up being weirdly life-changing. The moment where you finally sit down, take a breath, and realize you’re having a really good time.
Because the best Disneyland days are not the ones where you checked every box.
They’re the ones where you looked down at your churro, looked around at everything happening, and thought, “Okay, this was worth it.”
And when you’re ready to make it happen, do yourself a favor and book smart.
You can score discounted tickets and bundle hotel packages through Tripster, which makes the whole planning process way easier and a little more budget-friendly.
Less stress, more snacks. And you can’t tell me that’s not the goal.
Disneyland Ticket Types FAQs
Do I Really Need A Park Hopper® Ticket?
No, you don’t need it, but it depends on your personality and travel style. If you like options and want to experience both parks in one day, it’s worth it, but if you prefer a slower pace, stick with one park.
What Is A Park Per Day Ticket?
A park per day ticket means you choose either Disneyland® Park or Disney California Adventure® Park and stay there for the entire day. It’s the simplest and most relaxed option, especially for first-time visitors.
How Many Days Should I Plan To Visit Disneyland® Resort?
Two to three days is the sweet spot for most people visiting Disneyland® Resort. One day feels rushed, while more days give you space to actually enjoy the experience instead of racing through it.
What Is Lightning Lane® And Is It Worth It?
Lightning Lane® lets you skip the regular line and use a much shorter one for select rides. If you hate waiting or want to fit more into your day, it’s one of the few upgrades that genuinely makes a difference.
What Is The Difference Between Lightning Lane® Multi Pass And Single Pass?
Lightning Lane® Multi Pass lets you reserve multiple rides throughout the day, while Single Pass is for one high-demand ride at a time. Think of Multi Pass as your all-day strategy and Single Pass as your “skip the longest line” option.
Do I Need Disneyland Reservations After Buying Tickets?
Yes, you still need to make park reservations even after purchasing tickets. Without Disneyland reservations, you won’t be allowed to enter, even if you already paid.
Can I Visit Both Parks In One Day?
Yes, but only if you have a Park Hopper® Ticket. You’ll start in one park and then switch to the other later in the day, usually after 11 AM.
How Much Do Disneyland Tickets Cost?
Ticket pricing typically starts around $150 per person for a basic 1-day park per day ticket. Prices increase depending on your pass type, number of days, and whether you add upgrades like Lightning Lane®.
Are There Discounts On Disneyland Tickets?
Yes, you can find discounted tickets through Tripster, especially for multi-day visits and bundled packages. It’s one of the easiest ways to save without sacrificing your experience.